Quick Facts
- Average Total Cost: Approximately $2,641, including an average of $1,035 for structure and $1,142 for holds.
- Core Materials: 3/4-inch ACX or sanded plywood paired with 2x4 or 2x6 structural framing lumber.
- Hardware Standard: 3/8-16 industrial-strength t-nuts and 3.5-inch deck screws for framing.
- Common Dimensions: 47% of home climbing walls are between 8 and 10 feet tall.
- Ideal Training Angle: 30 to 45-degree overhang for bouldering and building finger strength.
- Safety Requirement: Bouldering crash pads that fully cover the fall zone to mitigate injury.
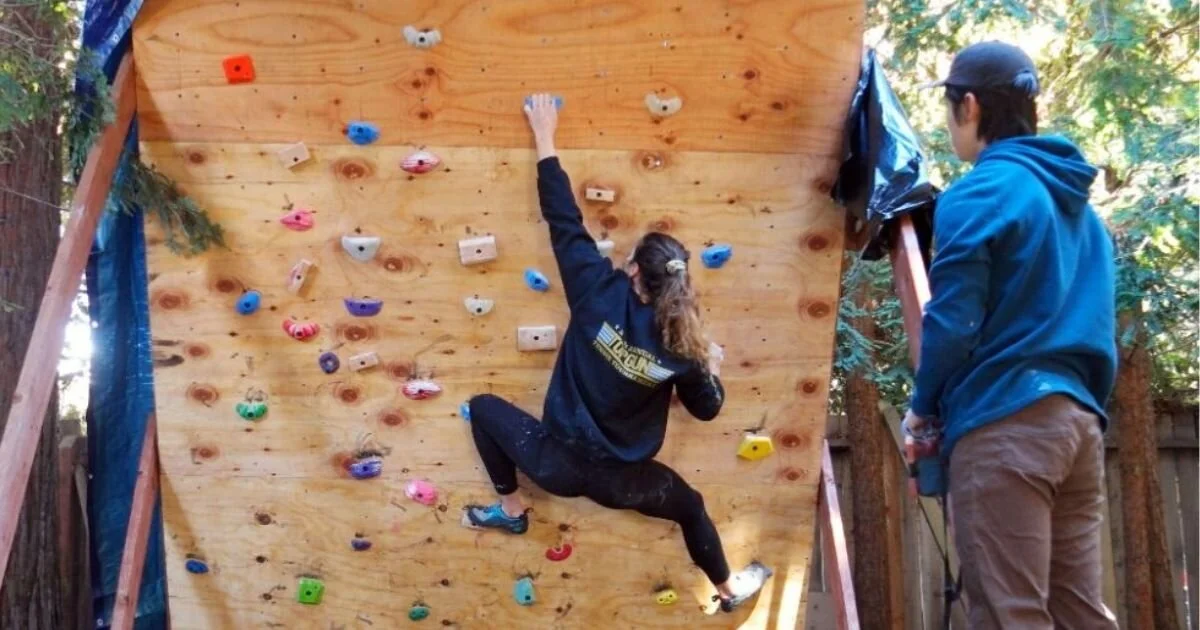
Building a DIY climbing wall is the ultimate home gym project for climbers looking to gain finger strength and technical skills without the commute. Whether you are aiming for a vertical kids' wall or a 45-degree bouldering cave, this 12-step guide covers everything from structural framing to setting your first circuit. Building a DIY climbing wall involves assembling a load-bearing frame spaced 16 inches center-to-center and attaching 3/4-inch plywood panels pre-drilled with a T-nut grid for adjustable climbing holds.
Stage 1: Planning and Geometry
Success in building a home climbing wall begins with a solid plan. During the 2020 lockdowns, 57% of home climbing wall owners constructed their personal facilities in response to gym closures, and many found that the design phase was the most critical step in ensuring the wall remained useful long-term.
Step 1: Measure Your Space
Before buying lumber, you must determine where the wall will live. Garage builds are popular because they offer Concrete floors and high ceilings, but indoor spare rooms work too. Keep in mind that 41% of these installations feature a climbing surface area ranging from 65 to 128 square feet. You need enough room for the wall itself and at least 6 feet of clearance behind it for a safe fall zone.
Step 2: Choosing the Right Angle
The angle of your wall dictates the type of training you can do. Vertical walls are great for balance and kids, while steep overhangs are better for power. For most enthusiasts, choosing the right angle for home bouldering wall means landing somewhere between 30 and 45 degrees. A 30-degree wall is a versatile standard that allows for both crimpy technical moves and big explosive jumps.
Step 3: Drafting the Design
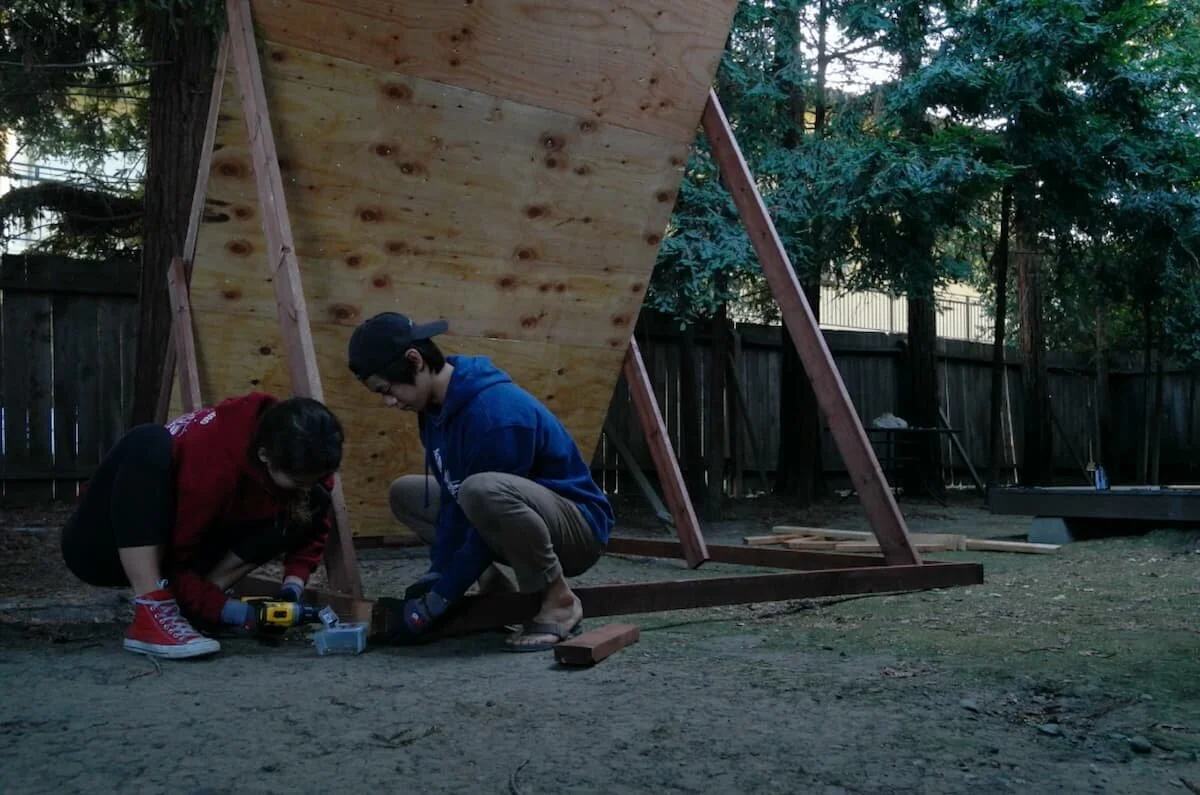
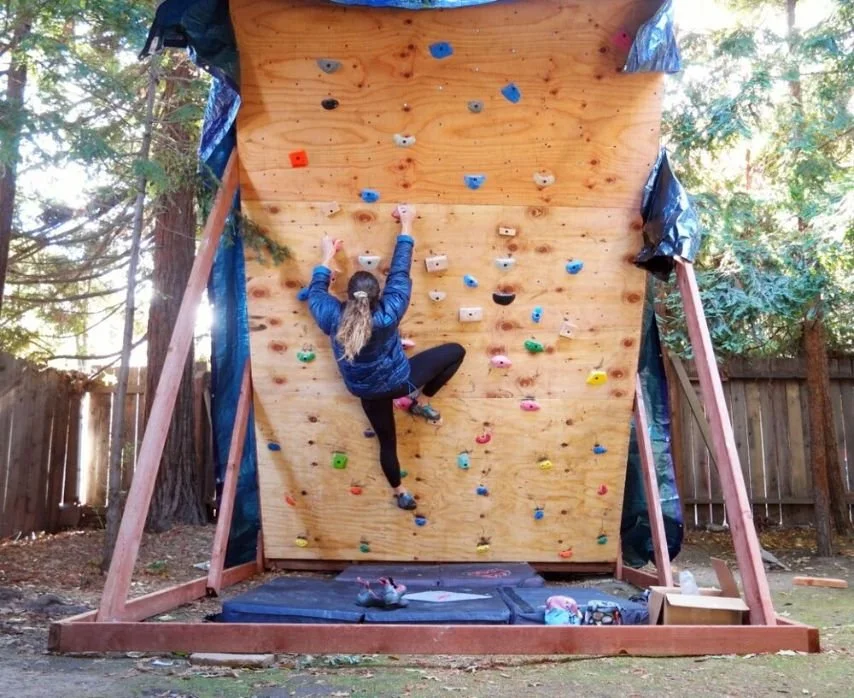
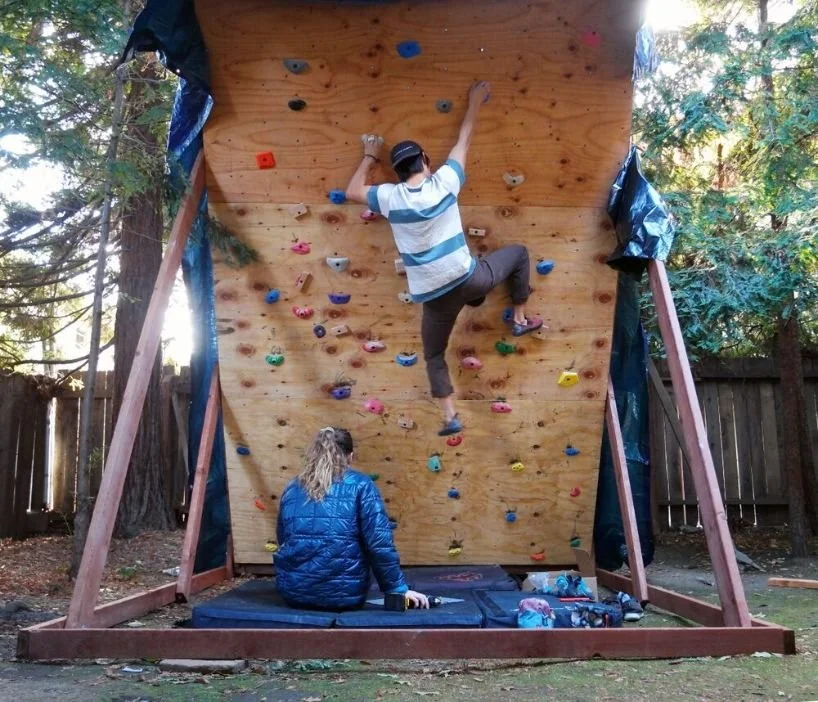
Decide if you want a fixed wall attached to your house studs or a freestanding diy climbing wall construction for garage use. A freestanding design is ideal if you are renting or do not want to put holes in your home's structure. During this phase, plan for a kicker board—a small vertical section at the base (usually 6-12 inches tall)—to prevent your climbing shoes from scuffing the floor and to allow for low-start moves.
Stage 2: Gathering Materials and Hardware
You cannot compromise on the quality of your climbing wall materials list. Unlike a standard partition wall, a climbing surface must handle dynamic, high-torque loads.
Step 4: Sourcing the Best Plywood
The climbing surface undergoes immense tension. The best plywood for home climbing wall builds is 3/4-inch thick ACX or sanded plywood. ACX means one side is high-quality and sanded (the "A" side), which is essential for skin comfort and paint adhesion. Avoid MDF or thinner plywood, as they will flex too much or the t-nuts will eventually pull through the wood.
Step 5: Essential Hardware for Construction
You will need industrial-grade fasteners to ensure structural integrity. While 2x4 boards are standard for vertical walls, many builders opt for 2x6 boards for steeper overhangs to increase the load-bearing capacity.
Master Hardware Matrix
| Component | Specification | Purpose |
|---|---|---|
| T-nuts | 3/8-16 4-Prong or Screw-in | Anchor for climbing holds |
| Drill Bit | 7/16-inch (for T-nuts) | Pre-drilling the plywood grid |
| Frame Screws | 3.5-inch Deck Screws | Attaching 2x4 or 2x6 framing |
| Panel Screws | 2-inch or 2.5-inch Wood Screws | Securing plywood to studs |
| Framing Lumber | 2x4 or 2x6 Kiln-Dried | Structural skeleton |
Stage 3: The Build Phase
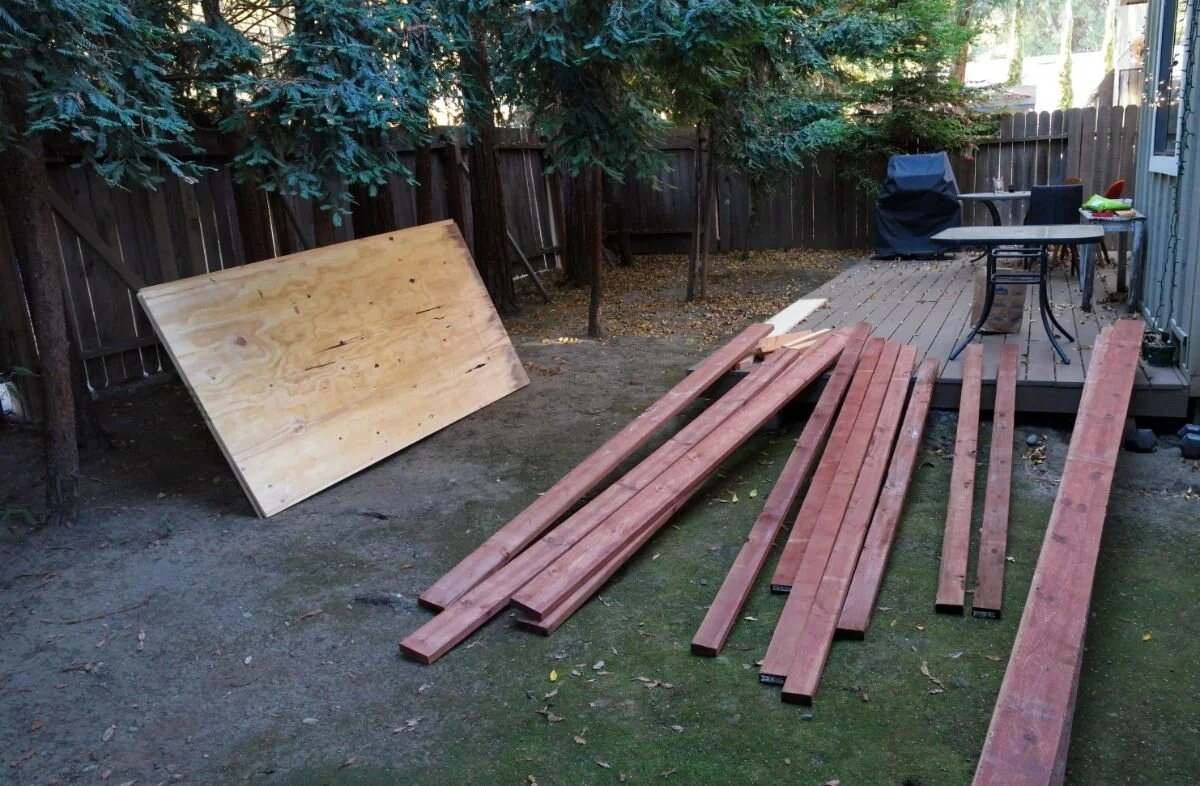
This is where the engineering precision comes into play. You are essentially building a heavy-duty floor system that happens to be tilted at an angle.
Risk Warning: A climbing wall is a heavy, load-bearing structure. If you are attaching the wall to your home’s ceiling joists or wall studs, ensure you are anchoring into the center of the structural members. If you are unsure of your home's load-bearing capacity, consult a structural engineer.
Step 6: Constructing the Frame
Build your frame with a joist spacing of 16 inches center-to-center. This matches standard residential construction and ensures that the 4-foot wide plywood panels will always have a solid stud to screw into at the edges and in the middle. If you are building an outdoor wall, be sure to use pressure-treated lumber to prevent rot.
Step 7: Drilling the T-Nut Grid
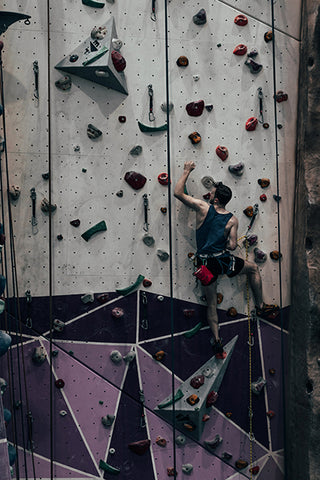
Before mounting your plywood to the frame, you must drill the holes for your holds. Most builders use an 8-inch or 6-inch staggered grid pattern. An 8-inch grid provides a great balance between hold density and structural strength. Use a 7/16-inch drill bit and keep the drill perfectly perpendicular to the wood to ensure the t-nuts sit flat.
Step 8: How to Install T-Nuts
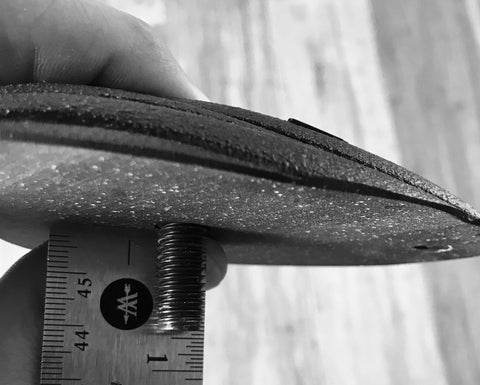
This is arguably the most important mechanical step. Learning how to install t-nuts in climbing wall correctly will save you hours of frustration later. Place the t-nut on the back of the plywood and hammer it in until the prongs are fully seated. Pro tip: Use a small amount of wood glue or a tiny screw (if using screw-in t-nuts) to prevent "spinning" t-nuts, which happen when the nut detaches and prevents you from removing or tightening a hold.
Stage 4: Finishing and Mounting
Your wall is almost ready. Now we focus on the friction and the final assembly.
Step 9: Applying Wall Texture
Bare plywood is slippery and can be hard on the skin. Applying a specialized wall texture paint can mimic the feel of a real rock gym. You can buy pre-mixed texture paint or mix fine sand into standard heavy-duty floor paint. This provides the necessary friction for "smearing" with your climbing shoes.
Step 10: Mounting the Panels
Lift the plywood panels onto the frame. This is a two-person job. Secure the panels using 2.5-inch wood screws every 6 to 8 inches along every stud. Ensure the screw heads are slightly countersunk so they don't snag your skin or clothes while climbing.
Stage 5: Routesetting and Safety
A wall is just wood and bolts until you add the movement. The quality of your training depends entirely on how you set climbing routes.
Step 11: Principles of Setting
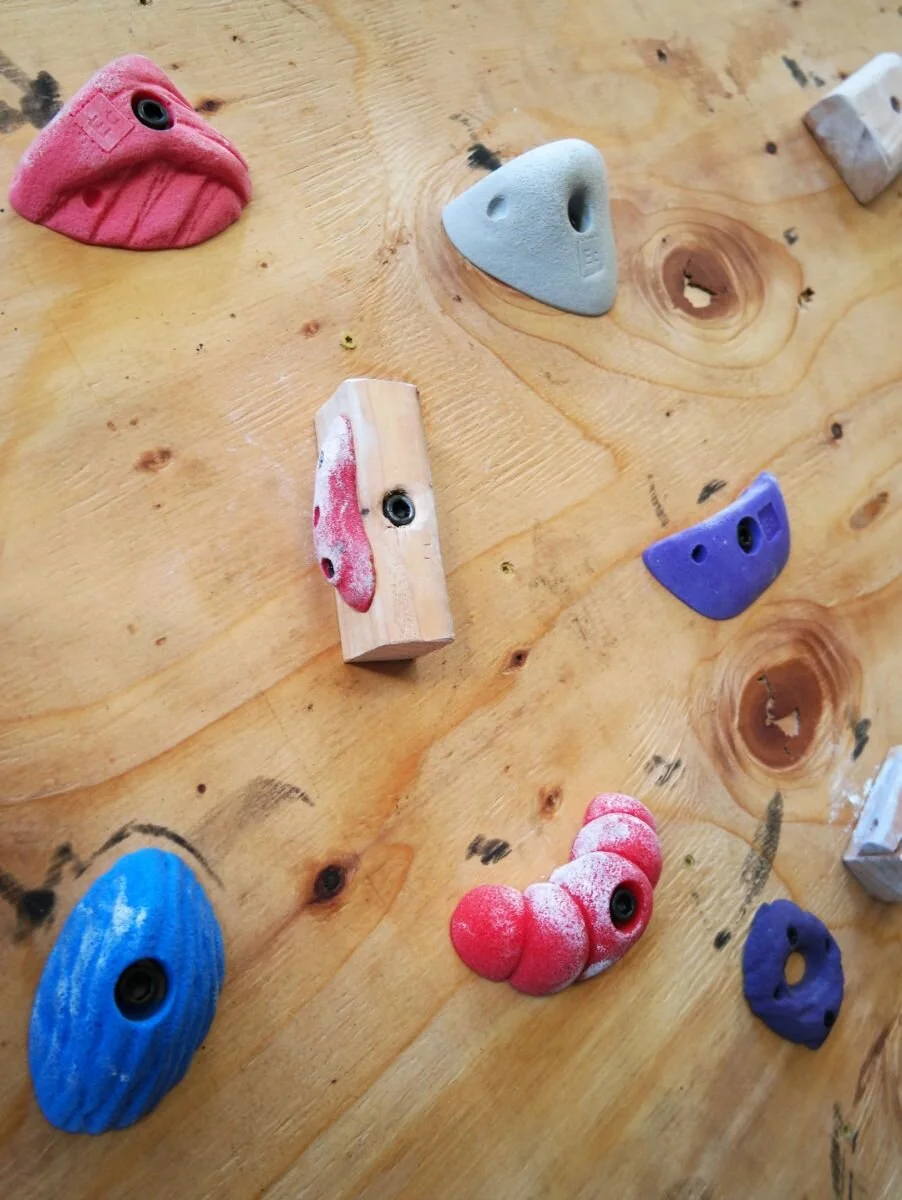
When setting climbing routes for home training wall, variety is key. If you have a small space, consider a "spray wall" style where you pack as many holds as possible onto the board. This allows for infinite movement combinations. Place large jugs for warming up, crimps for finger strength, and slopers to work on body tension. Use colored tape or a smartphone app to mark specific boulder problems.
Step 12: Establishing the Safety Zone
Safety is non-negotiable. Even a fall from 4 feet can cause a sprained ankle if you land on a hard surface or a gap between mats. Investment in high-quality bouldering crash pads is essential. Ensure the pads cover the entire fall zone and are pushed tightly together to eliminate "dead zones."
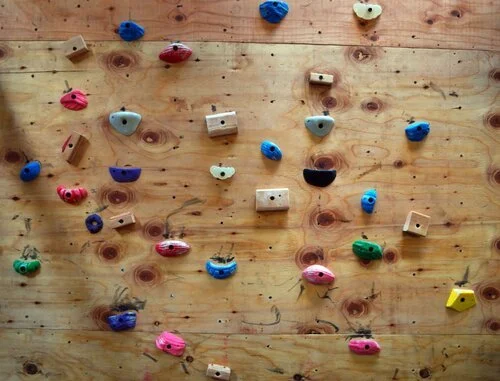
Whether you are building a freestanding diy climbing wall construction for garage sessions or a sleek indoor board, remember that this is an evolving project. You can always change the holds, adjust the routes, or even add panels as your strength grows.
FAQ
How much does it cost to build a DIY climbing wall?
The average total cost is approximately $2,641. This typically includes about $1,035 for the lumber and plywood and $1,142 for a starting set of holds and volumes. You can reduce this cost by sourcing second-hand holds or using simpler framing designs.
What is the best wood for a home climbing wall?
For the surface, 3/4-inch ACX sanded plywood is the gold standard because it offers a smooth finish and great durability. For the framing, standard kiln-dried 2x4 or 2x6 lumber is best for indoor use, while pressure-treated lumber is required for any outdoor installations.
How thick should plywood be for a climbing wall?
You should always use 3/4-inch plywood. Thinner boards like 1/2-inch or 5/8-inch will flex significantly under the weight of an adult climber, which can cause the t-nuts to pop out or the wood to eventually crack.
What is the ideal angle for a home bouldering wall?
For most home training, an angle between 30 and 45 degrees is ideal. A 30-degree overhang provides a balance between technical footwork and strength training, whereas a 45-degree wall is specifically geared toward building high-end power and finger strength.
How do you attach climbing holds to the wall?
Climbing holds are attached using 3/8-16 hex head bolts that screw into t-nuts embedded in the back of the plywood. Smaller "foot chips" or "jib" holds can be attached using simple wood screws driven directly into the plywood surface.